
BestCoffeeMakers.com

- A Part Store Too!




$69 /$119.99

Note: A single replacement gear does not come with the single or double dot because the replaced gear must be matched to the gear you have. Instructions for how to match your gears is below.
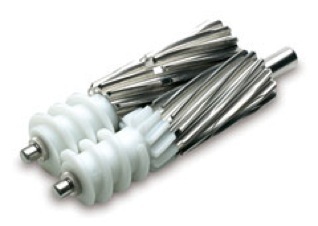
Green Power / Green Star / Elite Juicer Twin Gear Set -
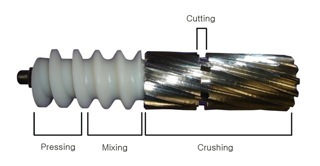
For use with the Green Power or Green Star or Elite model juicers. The male and female gears are used to juice fruits and vegetables. Compatible with Green Star, Green Power Gold, and the discontinued Green Life models. Buy one gear or a buy a set and save money.
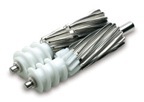
The single dot gear is the male gear (extended point) and the two dot gear is the female gear. The single dot fits between the two dots when assembling your machine. This is crucial for the blades to work properly.
Twin Gear Set
Note: The Male Gear has a metal protrusion.
Female Gear does NOT have metal protrusion.
Green Power Gold or
Green Star Gold or Greenstar Elite 5000, 5300
Green Star 1000, 2000, 3000
or Green Life model choices
Female / Male Gears / Blades
The male gear measures 6 1/4” end to end including the male point. The point alone measures 15/16” or almost 1”. If your model is old and made in Korea then your gear point is approximately 1/2”. You will need to have the point cut down yourself at your own risk for it to work at all.
How to Align Your Gears
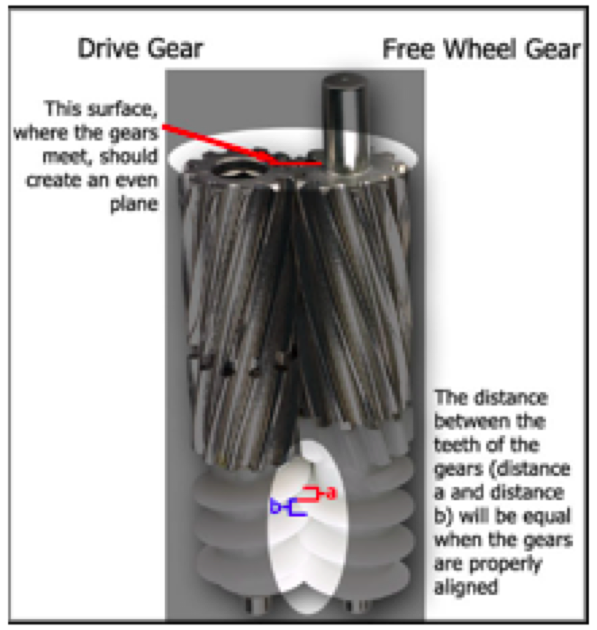
Free Wheel Gear: The 'male' gear with the metal post on the end.
Drive Gear: The 'female' gear without the metal post on the end.
If you are matching a new free wheel gear with an existing drive gear, skip to step 2.
If you are matching a new twin gear set that does not have dots, start from step 1.
1.Choose any spot on the drive gear and mark two adjacent teeth with dots. Place one dot on the two adjacent teeth that you've selected, on the flat, top portion of the gear. You may mark the gear with a permanent pen, by CAREFULLY nicking the surface with a nail, or by drilling a small indent. Always use the proper precautions when using your tools!
2.Take the drive gear with your left hand, and the free wheel gear with your right hand, so that the flat top of the gear faces up.
3.Holding the drive gear still, align the free wheel gear to the drive gear in between the two dots on the drive gear. When the gears are properly aligned, the tops of the gears should create a level plane where the two gears meet. If the gears, when put together, do not create a level plane, then they are not in the correct position. Pull the gears apart, rotate the free wheel gear by one groove, and realign the gears. Keep doing this until you find the correct position.
4.You will notice that there are a few grooves where the alignment seems close. In order to find the correct groove, put the gears together and create a level plane with the tops of the gears. Now look at the white, nylon 'worm gear' portion of the gears. The teeth of the worm gears should be equidistant from each other when aligned properly. A simple test to see if you have found this point is to slide the free wheel gear up and down against the drive gear. If you can slide an equal distant up and an equal distant down, you have found the correct spot. If the gear slides up more than it slides down, or vice versa, you should try the next groove.
5.Align your gears as if you were to put them into the machine. Lay them on a flat surface. Roll the gears towards each other, as if they were working inside the machine. If there are no sudden stops or difficulty in rolling your gears, then you have found the right positioning.
6.Mark the free wheel gear with one dot on the tooth of the gear that fits between the two dots of the drive gear when the gears are positioned properly.
7.If you want to mark the gears permanently, see the marking instructions in step 1.

Elite Gear
